A New Mommy and Some Fresh Projects

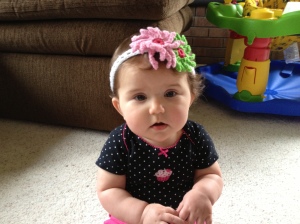
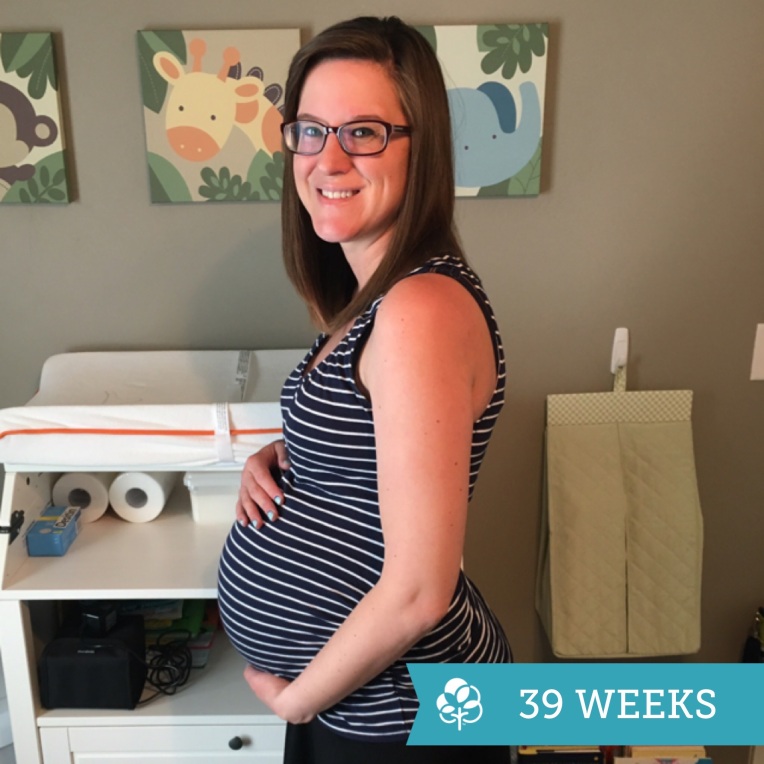
Wow. Just plain wow. Hi there, after being inactive for over a year. Since I last logged on, I was promoted to Registrar at work. As luck would have it, that same week I found myself pregnant with my first child.  I had been trying for the baby, and the job was a cherry on top. I became web silent as I grew my babe, waiting for that terrifying first trimester to end before I would announce anything. By the time I announced, I was so busy with work and prepping for the babe, that my little sewing blog fell by the wayside. So with that giant bit of news out of the way, let’s play catch up on all the fantastic things I’ve made for my son. He will be six months next week, so it’s time I find my way back to my old self, which includes blogging about my creations! Grab some coffee and sit back – I have so much to share!

img_9292

Since I was planning my babe, I actually bought a mountain of fabric for my nursery. Mostly my husband and I were planning on Dr. Suess, but the adorable baby fabrics of Curious George and Winnie The Pooh called to me. Once we found out we were having a boy, I had trouble not stocking TONS of boy-ish fabrics in my sewing arsenal. Before I knew it, my son had a pile of things ready and waiting. A Dr. Suess quilt, a teddy bear, crinkle taggy paper, blocks, a sleeping bag, and mountains of drool bibs. You’ll see that as always, my cats were there to help.

One item that I made was really special to me. I sewed a full coverage nursing shawl, with all the hopes and aspirations of being a breast-feeding mom. Yes, I used my cats to size it. Unfortunately, things didn’t work out that way, and my son never cuddled under this. I keep thinking I should give it to a family member, but I can’t bring myself to part with this. There were  too many hopes sewed right into this garment that I can’t give it away.

img_8811

As I shopped for my son, I kept thinking to myself, “I can make that.” This really kicked up with the car seat. He has a custom mommy made toy rack, canopy, and blanket. He also has some mommy-made strap covers because I grew tired of washing drool off the straps! The car seat blankets that I made are some of my favorite things.  They have ties on the sides (shoelaces!) so that my son can’t kick the blanket off, or pull it up over his face. My kid has the coolest car seat on the block.


I think that wraps up the things I made before my son arrived. Once he was here, there was wave of “oh my gosh he needs this thing immediately or life won’t be right!” This included a Toothless dragon costume and a crocheted Thor costume. A kid can never have too many things for Halloween, right? He also needed homemade sleep sacks and a poncho for baby-wearing. And of course, now that it is winter, he needs a crocheted beard. To keep his face warm. Duh.

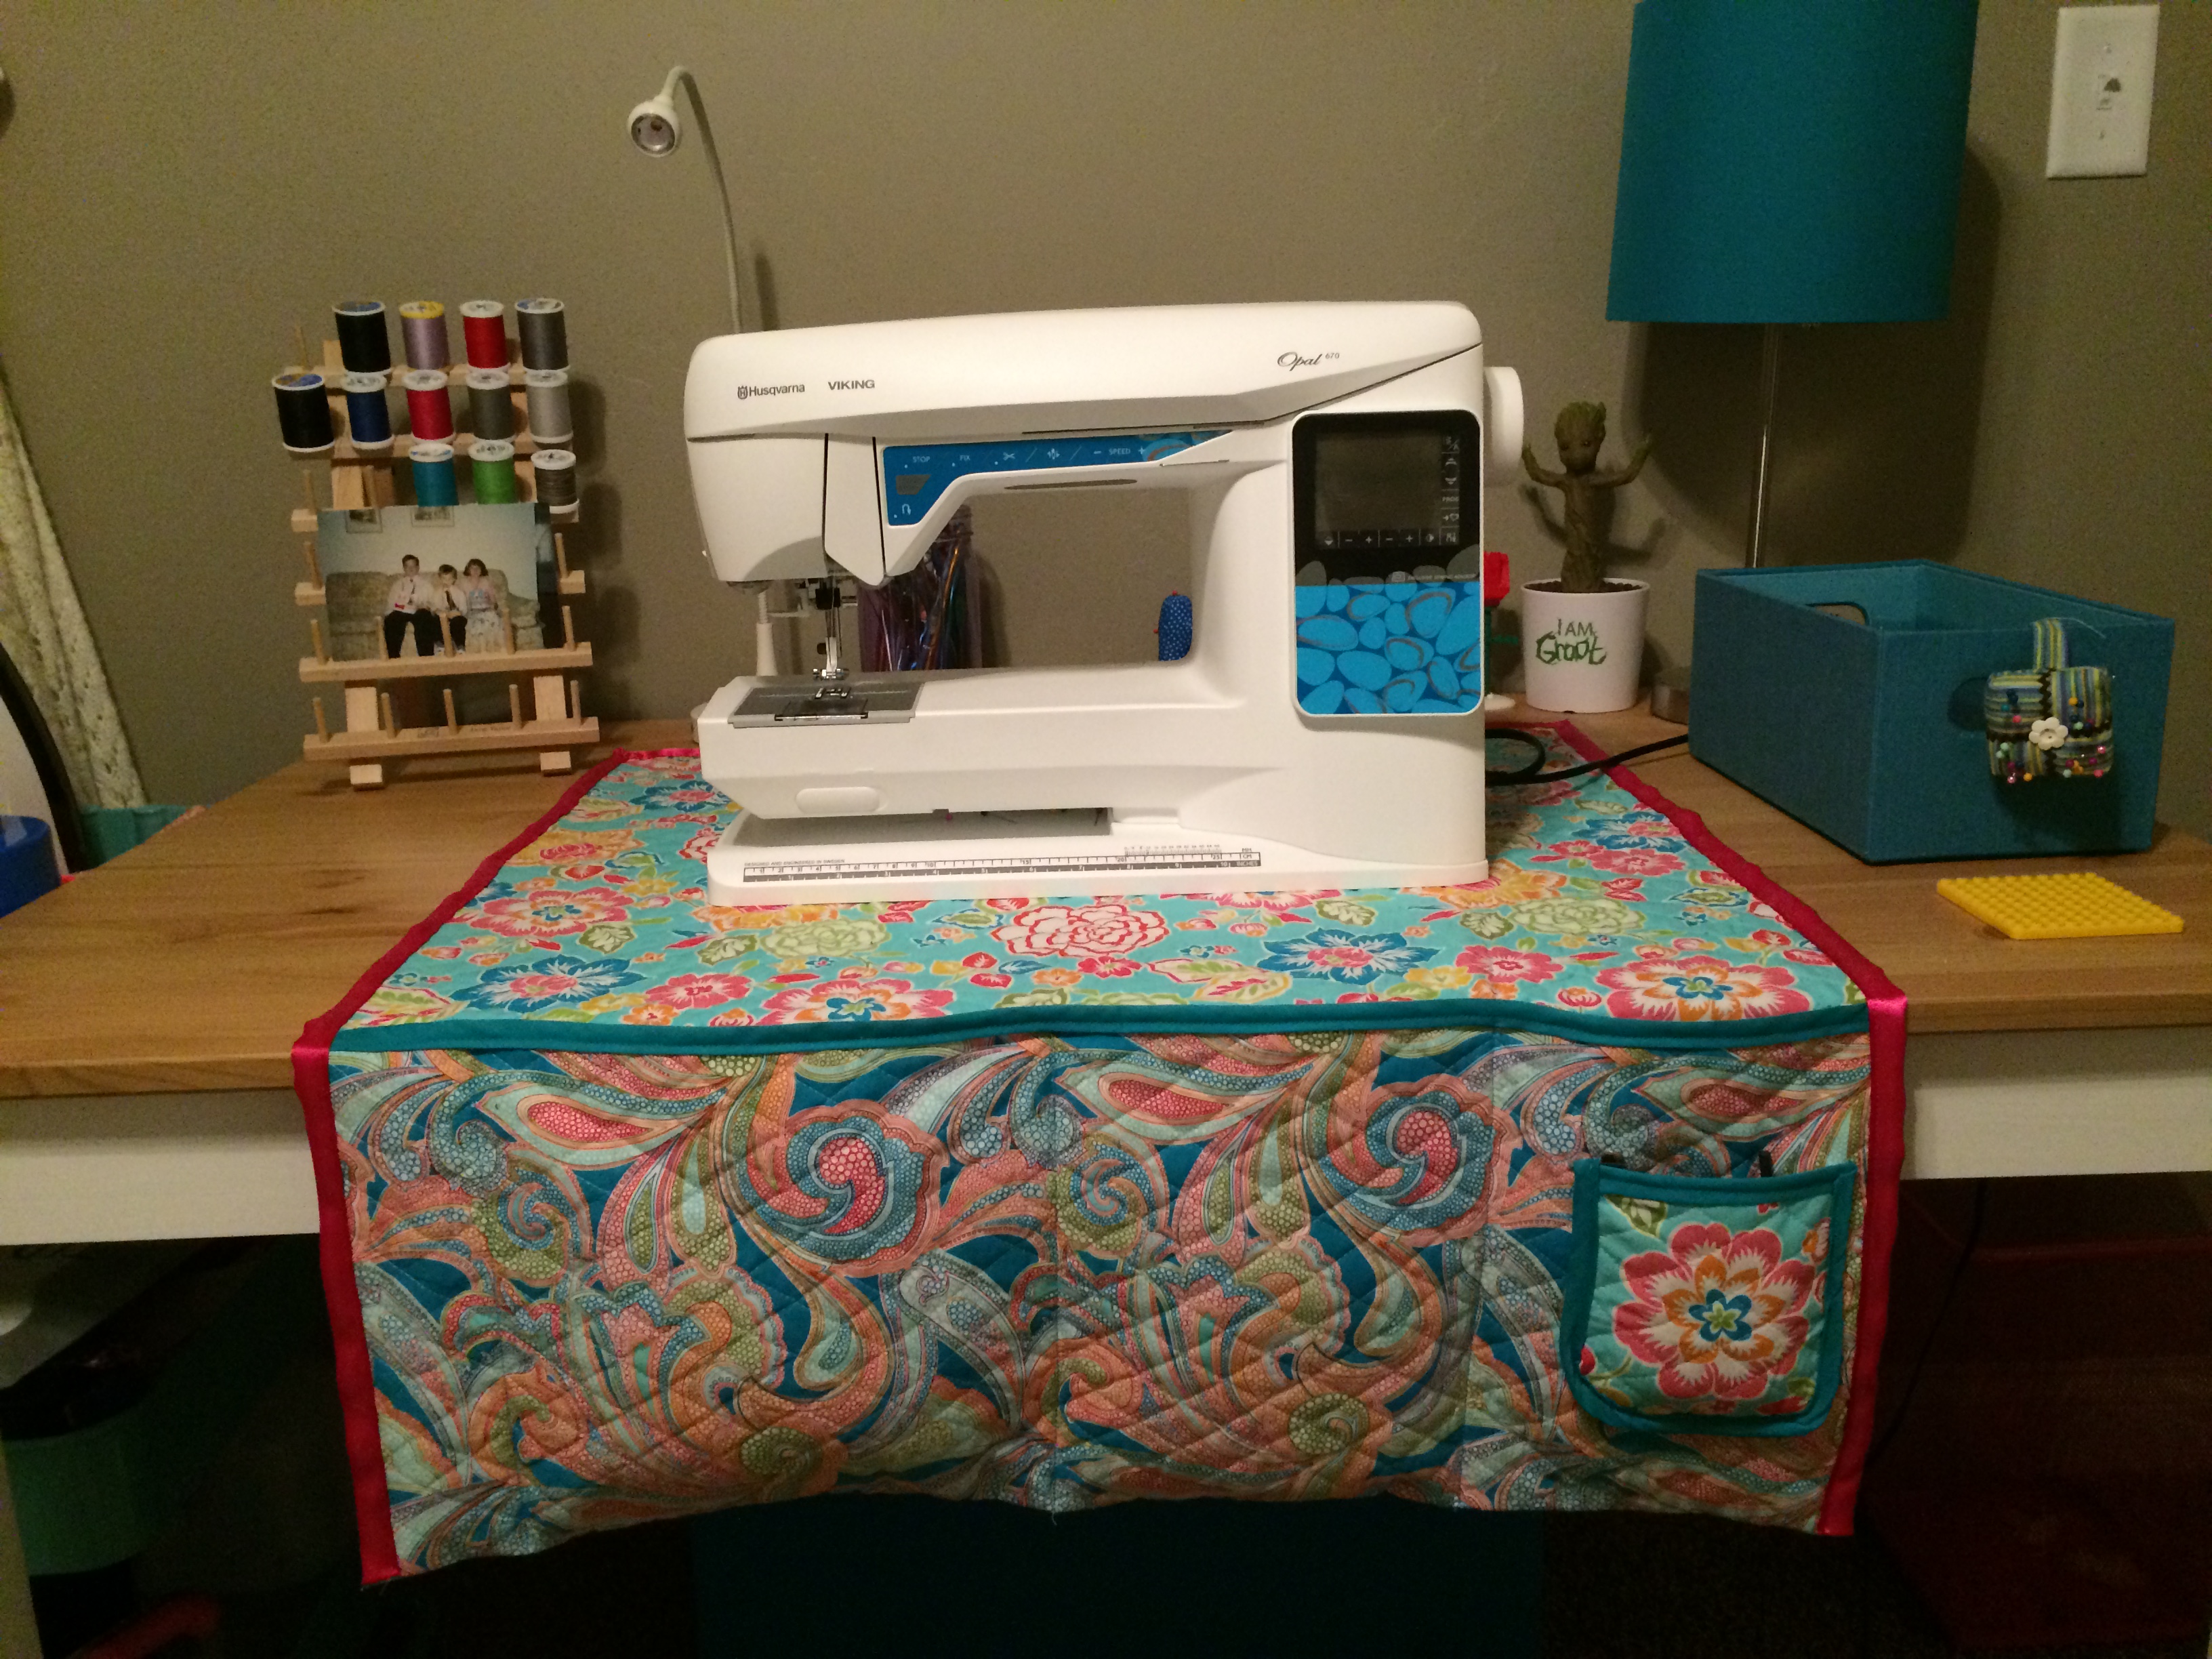
Now that everything is caught up, both with sewing and blogging, I am working on a rag quilt. I’m taking the left overs from all of my projects and turning them into a turtle. I have to say, I like rag quilting so much more than regular quilting. The pieces are smaller, and I won’t have to fit the entire thing on my table and sew giant zig zags. Please note, I get my kid to sleep cuddled into the Costco bear so that I can sew while he naps! And of course there is still a cat in the way. Always. Every time.

I am so excited to share more projects as I get back into the swing of real life. First the completed rag turtle, then maybe some clothes. Stuff for my husband for sure. Maybe someday something for me. It’s certainly been an adventure while I’ve been offline. I hope you’ve enjoyed my year’s worth of stuff shoved into one post!


I Nailed It – Zipper on a Purse

After trying, and failing, so incredibly hard at a zipper on a skirt, I turned my sights to a zipper on a purse. With the help of my cat, Lucy, and a handbag pattern, I made it happen! I adjusted the pattern a little bit here and there to make it more my style, and have been using this bag for a month now! It’s still holding strong and zips like a dream.

Lucy
Step One: Let your cat help you cut the pattern and fabric.
Cut two sets of fabric. At this stage, I sewed a few seams around to make smaller pockets on the outside panel, rather than large side pockets.
Cut two sets of fabric. At this stage, I sewed a few seams along the pockets to make smaller pockets on the outside panel, rather than such large side pockets.
Pin the sides facing together and sew along the sides and bottom. Do not sew the corners yet.
Pin the pieces facing right side together and sew along the sides and bottom. Do not sew the corners yet.
Lay the corners flat so that the bottom pairs evenly with the side. Basically, the bottom seam should be evenly pinned to the side seam, and then a box corner made.
Make a box corner. This was actually super easy.
I made a second bag for lining. I didn't want ugly seams showing, so I inserted this second bag into the first bag.
I made a second bag for lining. I didn’t want ugly seams showing, so I inserted this second bag into the first bag. This hides all the messy seams between the layers.
I inserted the inner bag to the outer bag and pinned everything down - almost ready to sew.
I inserted the inner bag to the outer bag, folded the edges into the bag, and pinned everything down – almost ready to sew.
IMG_7037[1]
Before sewing the top seams, I pinned in my straps. I wanted nicer handles, so I bought these. I sewed over the handles three times to make them really sturdy.
The hard part!! My zipper! I sewed the zipper into the fabric that would become the top of the purse BEFORE actually sewing it to the purse.
At that point, I carefully pinned and sewed the fabric into the purse, which made it easier to keep the zipper even.
My inserted zipper!
My inserted zipper!
This is how the lining looks.
I love this bag. It's perfect for work.
I love this bag. It’s perfect for work.

Baby Headbands

Authors Note:

So far I’ve dedicated my blog to sewing. In addition to my sewing, my first loves are knitting and crocheting. That’s my joy. I can do it while watching TV, in the car (as a passenger), on breaks at work… I had a blog before where I frequently wrote about my hobbies. Since closing that blog, I want to start migrating some of my posts over here to re-share. This is one of my favorites – not because the project is a hard one, but because it is SO CUTE! The funny part is that apparently I’ve always struggled with kids sizes….

Original Post:

One of my girlfriends asked me to make baby headbands for her daughter through my Etsy shop (update – I closed this shop!).  I understand nothing of children.  Their sizes are foreign to me.  I didn’t know if I should buy headbands and make stuff to put on them, or attempt to make one entirely myself.  Well luckily I found photos of crochet baby headbands online, along with a baby headband size chart.  Unsure of what yarn would really do on a baby’s head, I had my friend measure her daughter’s head and started from there.  I sent her a sample headband to the exact size of her daughter’s head.  From there we figured to downsize just slightly so the band would be just a tiny bit tighter.  For her 19″  head, I created an 18″ band that is very stretchy.Baby Spider Headband

Once we had the headband part down, I scoured the internet for the perfect flowers to crochet.  The first one that I made to attach to the sample headband was a little pathetic.  I think it was supposed to be a daisy, but poor baby just looks like she has a pink spider on her head. I decided to go with a more rose looking design for this first “official” headband.  I made this one fancy to make up for the spider looking one.

Baby With Rose

Author’s Note:

After successfully getting the sizing down, I sold a few more of these through Etsy. I loved seeing pictures pop up in my news feed of babies wearing my headbands. I eventually closed my shop though, because while this project was simple, others were not. I found it too time consuming to maintain my shop and fill custom orders. For the right babies though, I still think these are a beautiful gift!

Beautiful Skirt – Bad Zipper

Now that I feel like I’ve got a handle on my sewing machine, I bought a skirt pattern and some nicer fabric. I need to learn zippers, so this was my starting project for that skill!! As I measured and sized my skirt, I was baffled that my small frame seemed to need a size ten. Huh? Is this the opposite of vanity sizing? I forged ahead cutting to a size ten and sewed my panels together.

First Actual Pattern Skirt Panels


One thing I realized was that there was no way I would be wearing a homemade skirt without a slip. The white flowers on this fabric seemed very see through. I cut out a slip with the same pattern and tacked it in with the waistband. This all sewed together nicely, and the ribbon hid the seam attaching the slip to the skirt. It made the skirt fluffier and took care of the peek-a-boo issue I was having.

Slip and Waistband

I originally used a ribbon for my waistband.

RibbonThis caused a strangely loose and misshapen waist. I ripped that off and replaced it with a wide pink elastic band. At this point, the skirt was beautiful to me. I still needed to sew the final seam together and add the zipper though. I sewed that dang zipper in 4-5 times trying to get it right. It either puckered our stretched or was not straight. I finally gave up and have walked away from the project at this point. This is why:

Zipper

I have no idea how to get this zipper sewed in straight. After I play around with zippers on other smaller cheaper projects I will try again. I’m going to give this skirt one last shot at survival in a few months. Mostly because LOOK HOW PRETTY:

My Skirt

Ok, I look a little disheveled but the skirt is adorable.

PS my cat Lucy thinks pattern paper is an awesome cat bed.

Lucy

For My Niece

As I’ve said before, I have the sweetest little niece, Alice. After practicing my dressmaking skills on my neighbor, I turned my attentions to Alice. For this dress, I used the pattern and sizing chart posted by The Mother Huddle. Her tutorials are fabulous! Please check out her work.

For this dress, I bought a set of fat quarters that made me think of spring/summer. Bright, cheerful, and flowery. Perfect for a beautiful little girl.

Fat Quarters


As I worked on this dress, I wanted to practice my skills on making seams strong and durable. I sewed a straight seam on everything, followed by a zig zag stitch to cover the edges. Everything was then pressed so the seams all laid flat in one direction.

Seams


The one tricky part of this dress, for me at least, was the front seam. I wanted a front tying bow instead of side tying, which meant making a notch in my front middle seam. I mostly was worried that it would be uneven, off-center, or that I’d somehow have a weird gap in my stitching. Luckily, while it looked a little weird on the back, the front looked perfectly normal.

Front Seam

Once the front and back panels were all stitched together and seams pressed, I gave top stitching a shot. This was something that made me nervous solely because it would require perfectly straight lines. With these stitches being exposed, there’d be no hiding sloppy or crooked stitching! I’d say the lines turned out well, but I still need some work.

Top StitchingAfter getting the top stitching finished, I had to add the bottom. The front and back each got a separate band added on, pressed, and top stitched. With the front and back panels set, all that remained was sewing them together. And adding a bow. I wasn’t sure about the bow, so I tried this:

Brown Bow

Nope, that was ugly. So I added white to match the bottom panels. GLORIOUS!

Front Back

I absolutely love the way this turned out. I mailed it right out to little Alice, and once I know it fits her, she’ll be getting lots more from her favorite aunt. 🙂

My Foray into Pants

I’m sorry! I’ve been very very busy lately, and have neglected my sewing. Luckily this weekend I had time to sit down and try my hand at making some legging pajama pants. I was perusing ideas and patterns, and the whole measuring thing just wasn’t clicking in my brain. I’ve never thought about the dimensions of my clothes. I decided to try copying a pair of my favorite leggings for a first attempt. Unfortunately for me, I chose to copy stretchy leggings with unstretchy fleece. Fortunately, after three attempts, I have a pair of pants that are comfortable and actually fit! Let’s try my hand at a step-by-step tutorial…

Step One: fold the fabric in half, and use a pair of leggings as a cutting guide. Hopefully you can tell from this photo that the leggings are folded in half, and the flat side is matched exactly to the fold in my fabric. I then cut about an inch out around the outside. Two cutouts are needed.

Sizing My Material

Step Two: this is probably the easiest part of the actual sewing on this project. Unfold both pieces of fabric, and pin them together facing right side in. At this point, only the curved edges are sewn together. This is the waist to the crotch. Do not sew down the straight edges of the legs.

Pants Open

Step Three: after sewing the curved edges, open the legs so that they actually resemble pants! Now pin the edges of both legs and sew together. Take care around the crotch area to lay all the seams nice and flat.

Pants - Second Stitch

Here’s how they look at this point. Unfinished, yet clearly going along the right path. Sorry, I committed a faux pas and took this in a dirty mirror in my sewing room!

First Fitting

Step Four: I zig zag stitched around all of my seams to reinforce them.

Step Five: Flip the bottoms up (wrong sides together!) into short cuffs. I did a simple top stitch to secure the cuff.

Step Six: This was the hard part for me. The WAISTBAND. At first I pinned elastic all the way around and sewed it right into the seam. That didn’t get the waist tight enough. As you can tell from the above picture, the waist was VERY loose to start with, so it needed to be pulled in a lot. After ripping the elastic out to start over, I cut a contrasting pattern and sewed a top panel on to make them look like yoga pants. That ended up making the pants way too tight at the top. I finally settled on flipping the top edge in about an inch and sewing a straight seam. I left a small section at the front unsewn to feed an orange shoelace through. Once I fed the shoelace in and tied it tight, these fit perfectly!

I love the way these turned out. I did learn some good things about fabric, and my body, along the way. Overall, now that I know what I’m doing with this simple project, it shouldn’t take more than an hour to make another pair.

Front Back Side

My husband would like to remind you that while these are covered in umbrellas, they are not waterproof!

Toddler Dresses

Ok, I don’t have kids, I have cats. But there are an abundance of children in my life. Most adorably, is my year-and-a-half old niece, Alice. She gives purpose to my crafting, as evidenced by this afghan I designed for her when she was born. It’s extra big so she can enjoy it her whole life. 🙂

Alice Afghan


Now that I have a sewing machine, I’ve been looking for ideas for things to make Alice. Therefore, I am delving into the world of dresses! My sister-in-law told me that she liked the style of pillow case dresses. Having never sewed clothing, I enlisted the help of my little neighbor Mia to be my tester. She didn’t know it though – her dress was a surprise. I followed the pattern with an actual pillow case for Mia. I did this mostly because she loves Doc McStuffins and I found a Doc McStuffins pillow case. So let me say this, child dimensions are foreign to me. I have zero clue what they mean or what size those tiny little bodies really are. This resulted in me misunderstanding something, whether it was the pattern, or that at 4 Mia is smaller than a 4T….something. Not sure what. The dress reached her feet. Uh, nope. Not cool. This was my first attempt at her dress.

Mia Dress One


Since her dress was so long, I invited Mia over for a play date last weekend. She played with my LEGOs (I keep tons them in my sewing room because grown ups should play too!) and I hemmed her dress several inches shorter. Once I cut off all the extra fabric, the best part was I had enough left over to make straps! I didn’t like the ribbon I had originally used, so I was really pleased with the new look. Little Miss Mia was kind enough to model for me, so now I am confident that I understand enough to make dresses for my niece that will fit!

Mia

Stuffed Bunnies – Part Two

I promised to show off my finished stuffed Easter Bunnies. I worked with my cousin Ashley to make these for the kids in the family. We ended up only needing five, because one family didn’t join us for Easter. We sewed and sewed away on these for what felt like forever!

This first little bunny with the mooshy belly and floppy ears took the longest. I took the pattern I had for the body and upsized it myself. As a non-drawer, that was hard.  Since I mixed body and ear patterns from different bunnies, I wasn’t sure how it would turn out. I think it’s great though!

Bunny Number One Bunny Butt


Since this one turned out well, I forged ahead and cut the rest of the pieces.

Bunnies in the Making


Three of the bunnies were for kids, so they got button eyes. We skipped noses and mouths since Ashley and I have zero knowledge of embroidering faces. Two of the bunnies were for babies, so they only got tails, no buttons. The final bunny was for a child who wasn’t coming, so we skipped it. Sorry – but these took a long time, even with two of us sewing.

Ashley and I are both new to sewing, so overall, we were both really happy with how these turned out!

Happy Bunnies!

The Handiest Thing I’ve Ever Made

This particular craft wins, hands down, the best thing I’ve ever made. So simple, yet so unbelievably helpful. A sewing mat for my machine!

My Sewing Mat

I saw this concept on Pinterest, but only kind of liked it the way other people had done it. The ones I saw were much shorter, or also converted into sewing machine covers. Well, I don’t want to have to pick up my machine every time I use it to put the mat under it. I also don’t want my tools poking out the top of the pockets, so I opted for nice deep pockets to hide all of my toys, yet be right at hand.

This was unbelievably simply to make. I purchased one yard of pre-quilted fabric. To size it, I set it under my machine and trimmed it to the size I wanted. I then put it on my cutting mat and straightened the edges with a ruler. The first step was to add the teal bias tape to the edge that would become the top of the pockets. I also added a small pocket at this point for my machine stylus and tweezers. I didn’t think to take a picture of this process, so I took a close-up of the finished edging instead.

Bias Tape


Once the bias tape was sewn on, I put the mat back under my machine and pinned the fabric up to the height I wanted my pockets. I sewed pockets to specific sizes for the tools that I wanted at hand. All my bobbins are right at my fingers tips for quick changes, and my scissors are never far away. Plus there are extra pockets for the things I need for specific projects.

Bobbin Doughnut Scissor Pocket


The final step was to put edging around the sides. I opted to use some silky ribbon I had left over from my wedding rather than bias tape. I figured I had no other use for that ribbon, and this way I see it every day!

Ribbon Edging

I love my sewing mat, and if I could recommend any project to a new seamstress, this would be it. Heck, it’s the one I’d recommend even to an experienced seamstress! It’s too perfect!